


No, you do not need a driver’s license to ride an e-bike. Please read the safety instructions carefully for your safety.
You can refer to the battery and charger section in our e-bike user manual.The methods are listed in the manual in more detail.
Read our blog article on how to maintain your battery.
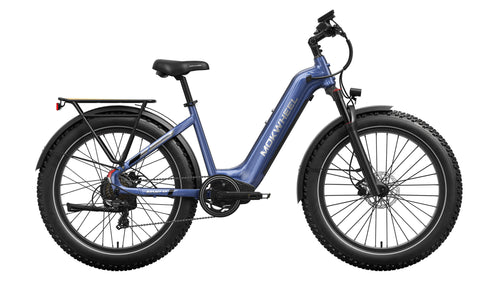
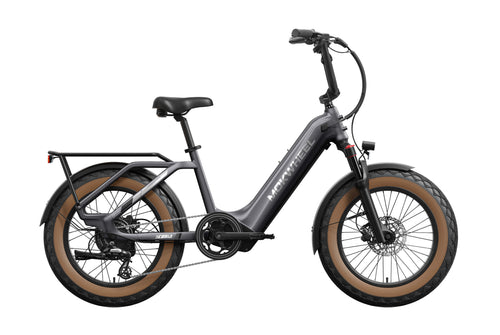
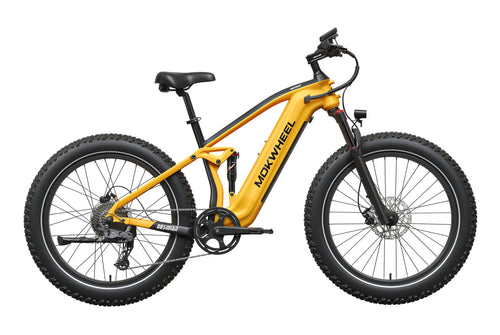
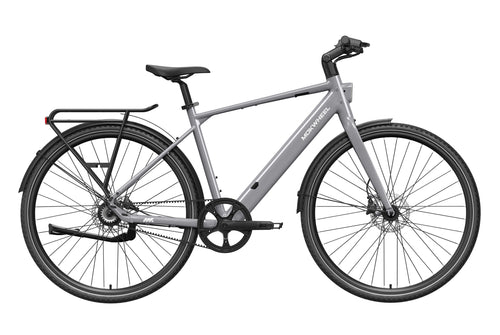
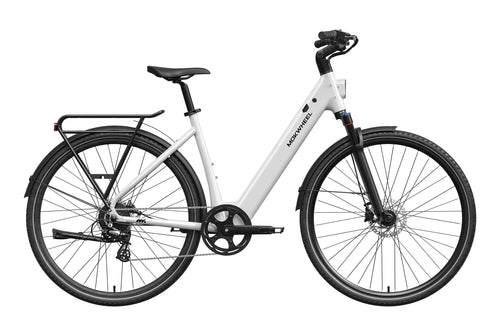
You can use the Model Comparison to see the differences between our e-bikes.
We recommend removing the battery first. After that, you can clean the e-bike just like a regular bicycle.
Before riding, we strongly recommend reading our E-Bike User Manual for your safety.
3–4 years.
The recommended height is 1.63 m or taller.
Your order will be processed within 48 business hours. After your order is shipped, you will receive a shipping confirmation email. Our e-bikes are shipped via TOF or GEL, and accessories via DPD. Please allow 2 to 7 business days for delivery to your desired location. All delivery times provided by Mokwheel are estimated.
If your purchase includes an e-bike, your order ships free of charge within Germany, Austria, Luxembourg, Italy, France, and the Netherlands.
The e-bike arrives mostly assembled; only a few steps are required to complete the assembly. Please carefully watch the assembly tutorial or refer to the E-Bike User Manual User Manual for installation.
Sorry, but only one coupon can be used per order; stacking coupons is not supported. Thank you for your understanding. The final interpretation rests with Mokwheel Company.
You can now place your order online and pick it up offline. Please note “Offline Pickup” when placing your order.
Offline Pickup Address: An der Glashütte 1 B3, 42799 Leichlingen, Germany.
Yes, you can. Please send your order details to support@mokwheel.eu.
If your Mokwheel e-bike won’t turn on, check the cable connections at the rear axle to ensure they are not loose or disconnected. Alternatively, you can unwrap the protective covering of the connector, unplug it, inspect for any defects, and then plug it back in.
Troubleshooting Guide
1.Brake Error
Check if the brake cable is loose or damaged. If there is no damage, replace the brake or brake lever and cable.
2.Pedal Assist Sensor Error
Step 1: Check if the sensor cable is loose or disconnected. If not, the pedal assist sensor may be damaged.
Step 2: Remove and replace the pedal assist sensor.
3.Walk Mode Error
Turn off the e-bike and restart it. (If the problem persists, the controller may need to be replaced.)
4.Real-Time Mode Error
Turn off the e-bike and restart it. (If the problem persists, the controller may need to be replaced.)
5.Low Voltage Error
Step 1: Remove the battery to check if the voltage is sufficient.
Step 2: Charge the battery.
Step 3: If the problem persists after the above steps, it may indicate motor damage. Replace the motor.
6.Motor Error
Check if the motor connection cable is loose, disconnected, or inserted incorrectly. (If not, this may indicate motor damage; replace the motor.)
Brake Pad Replacement Guide
Required Tools:
Needle-nose pliers
Hex wrench
Replacement brake pads
Step 1: Remove the Brake Pads
1. Prepare the bike for maintenance. First, turn off the bike and remove the battery.
2. Locate the brake pads. They are inside the brake caliper on each wheel (see reference photos).
3. Remove the brake caliper first. Use a hex wrench to remove the two caliper bolts from the bike frame. (Be careful not to lose or misplace the washers in the caliper bolts.)
4. Carefully align the retaining pin with needle-nose pliers and remove the brake pad by pushing it upward.
5. Remove the old brake pads. Press the leaf spring to release the pin and take out the old pads.
Step 2: Install the Brake Pads
1. Insert the new brake pads into the caliper. Install them in the same arrangement as the old pads. The friction material should face each other. Ensure that the top hole of each pad aligns with the retaining pin hole. Slide the new pads into the caliper to complete installation.
2. Reinsert the brake retaining pin. Ensure the caliper is secure by carefully bending the pin 90° with needle-nose pliers.
3. Reattach the brake caliper. Position it so that the mounting holes on the frame align with the caliper’s attachment points. Insert the bolts with a hex wrench and tighten both bolts evenly.
4. Reinsert the battery before riding and test the brakes to ensure proper installation.
Tip: The best way to maintain your brakes is to use both brakes together, applying the rear brake first to avoid excessive stress on the front wheel and fork.
Brake adjustment includes:
Check the wheel to ensure it is fully seated in the frame dropouts. A wheel that is not properly seated may cause the brake rotor to rub against the pads and create noise.
Inspect the brake rotor to confirm it is straight and in good condition. Damaged or dirty rotors can reduce braking performance or cause noise.
Center the brake caliper by adjusting its position so that the inner pad (a fixed part of the caliper) is close to and parallel with the rotor. A misaligned brake pad or caliper can lead to poor braking performance or noise.
Adjust the brake cable tension and check the brake lever. These final adjustments help ensure the brakes are correctly set.
Prepare the bike for maintenance. Remove the battery and hold the power button for 10 seconds to discharge any remaining energy.
First, remove the left crank arm. Loosen the bolt with a hex wrench and use a crank puller to remove the crank.
Repeat the same steps for the right crank arm: remove the bolt with a hex wrench and insert a crank puller into the opening to remove it.
Once the new crank arms are installed, test the chain. Place the bike on a stand so the rear wheel is lifted, then rotate the cranks backward to turn the rear wheel. Make sure the chain is properly seated on the chainring
Troubleshooting the PAS Sensor
The crank should be removed (see crank removal guide).
- Locate the PAS sensor behind the left pedal to check if it is loose.
- If the PAS sensor is not loose, trace the cable from the PAS sensor to the connector.
- Unplug the PAS sensor connector and remove the controller.
- Locate the connection cable between the controller and the PAS sensor to check if it is loose.
- Inspect the inside of the connector for dirt, damage, or moisture. If the connector is dirty, damaged, or wet, the sensor may need to be replaced.
Replacing the PAS Sensor
- Remove the old PAS sensor, disconnect the cable from the main controller, and unplug it.
Installing the PAS Sensor
- Install the new sensor, making sure the side with the arrow is facing the bike.
- Before riding the bike, reinstall the battery and perform a full test.
The wiring harness connects various electrical components of the bike. If instructed by MokWheel product support to inspect the harness, follow the steps below to ensure the connectors are plugged in properly and working correctly.
Remove the battery and hold the power button for 10 seconds to release any remaining energy.
Turn the bike upside down and rest it on the handlebars to avoid damaging the LCD display during maintenance.
Locate the controller and all of its connections.
Check if any cables are loose by unplugging and reconnecting the connector. When unplugging, align the sides straight and do not twist.
Reinstall the controller by following the steps above.
Before riding, reinstall the battery and perform a full test.
Required Tools:
Hex wrench
Step 1: Removing the LCD Display
- Prepare the bike for maintenance. Remove the battery and hold the power button for 10 seconds to discharge any remaining energy.
- Pull out the plug of the LCD display. Follow the cable from the back of the LCD display to the wiring harness.
- Separate the LCD display from the connected cable by pulling both ends apart without twisting.
- Remove the LCD screen. Loosen the screws that secure the LCD screen with a hex wrench and pull it away from the handlebar.
- Remove the odometer controls. Loosen the clamp screws with a hex wrench and remove them.
1. To remove the brake lever, first loosen the brake cables from the caliper.2. Press the lever to expose the internal mechanism, and remove the brake cable cap from the lever.3. Then disconnect the brake connection cable by pulling it out, and loosen the screws on the lever to remove it.
1. First, remove the wheels before removing the brake rotors (see the wheel removal guide).
2. Use a hex wrench to remove the five screws that secure the rotor to the wheel, then simply lift the rotor off to remove it.
1. Cut the zip ties to release the connection cable and pull it apart. Then, unscrew the screws behind the taillight to remove it.
Removal Instructions:
- Push the derailleur forward to release the chain from the crankset.
- Loosen the outer plate of the derailleur to release the chain from the derailleur.
- Loosen the screw for the middle plate of the derailleur.
- Loosen the middle screw that connects the derailleur to the bike to remove it.
- Once it is removed, loosen the screw that holds the shift cable and turn the cable off the derailleur.
Installation Instructions:
- To install, first attach the derailleur to the bike.
- Then install the middle plate so that the chain runs over it.
- Install the outer plate so that the chain runs over it as shown.
- Finally, insert the shift cable back into the derailleur and tighten it.
1. Unscrew the headlight screws from the front fender and disconnect the cable to remove the headlight.
Guide to Adjusting the Rear Derailleur
Prepare the bike for maintenance. Remove the battery and hold the power button for 10 seconds to discharge any remaining energy.
Test the alignment. Rotate the pedals forward while simultaneously shifting gears with one hand. Ensure that the chain moves smoothly into each gear when using the derailleur. Test by rotating the wheels one to two full turns each.
a. The shift cable may be too tight. Loosen the adjustment screw on the front derailleur.Loosen the adjustment screw on the derailleur by half or a full turn.
b. The shift cable may be too loose. Tighten the barrel adjuster on the front derailleur.Tighten the barrel adjuster on the derailleur by turning the adjustment screw half or a full turn.
Shift through all the gears to test alignment. Rotate the cranks forward with one hand while adjusting the gears. Ensure the derailleur moves the chain evenly from the first to the seventh gear.
Before riding the bike, reinstall the battery and perform a full test.
