


Welcome to the Support Center


Frequently Asked Questions (FAQ)
Products
No, you do not need a driver’s license to ride an e-bike. Please read the safety instructions carefully for your own safety.
You can check the battery and charger in our E-BIKE USER MANUAL. The methods are detailed in the manual.
Before riding, we strongly recommend that you read our E-BIKE USER MANUAL for your safety.
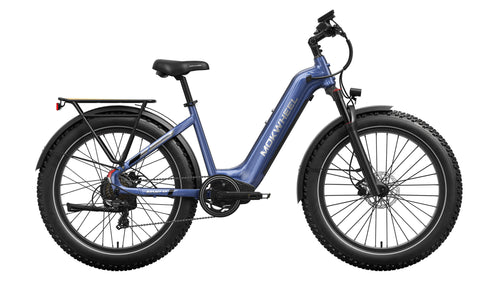
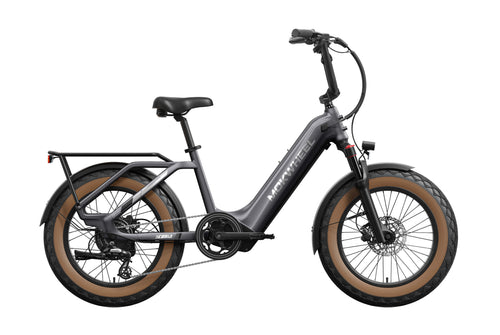
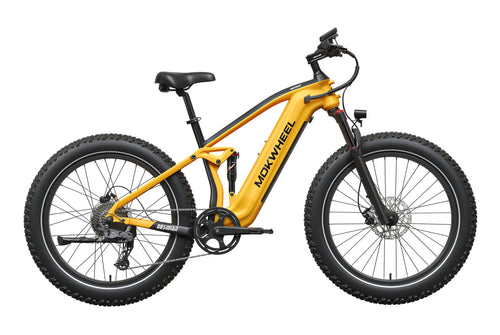
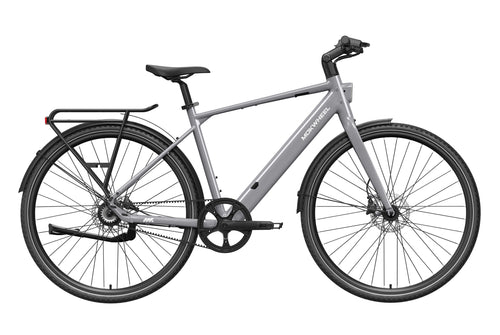
In our model comparison, you can read about the differences between our e-bikes.
Purchasing
The e-bike will arrive mostly assembled; only a few steps are required to complete the assembly. Please carefully watch the assembly tutorial or read the E-BIKE USER MANUAL for installation instructions.
If your purchase includes an electric bicycle, your order ships free of charge within Germany.
Your order will be processed within 48 working hours. After your order is shipped, you will receive a shipping confirmation via email. Our e-bikes are shipped with TOF or GEL, and accessories with DPD. Please allow 2 to 7 working days for delivery to your desired location. All delivery dates provided by Mokwheel are estimated.
Sorry that only one coupon can be used on one order, we do not support stacking coupons. Thanks for your understanding.
Final interpretation is owned by the Mokwheel company.
Troubleshooting
If your Mokwheel e-bike is not working, check the cable connections at the rear axle of the e-bike to ensure they are not loose or disconnected. Alternatively, you can unwrap the protective cover of the connector, unplug it, inspect for any defects, and then plug it back in.
1.Brake Error
Check if the brake cable is loose or damaged. If there is no damage, replace the brake, brake lever, and cable.
2.Pedal Assist Sensor Error
Step 1: Check if the sensor cable is loose or disconnected. If not, the issue may be a damaged pedal assist sensor.
Step 2: Remove and replace the pedal assist sensor.
3.Walk Mode Error
Turn off the e-bike and restart it. (If the problem persists, the controller should be replaced.)
4.Real-Time Mode Error
Turn off the e-bike and restart it. (If the problem persists, the controller should be replaced.)
5.Low Voltage Error
Step 1: Remove the battery to check if the battery voltage is sufficient.
Step 2: Charge the battery.
Step 3: If the problem persists after performing the previous two steps, it may indicate motor damage. Replace the motor.
6.Motor Error
Check if the motor connection cable is loose, disconnected, or plugged in incorrectly. (If not, this may indicate motor damage; replace the motor.)
Tip: The best way to maintain the brakes is to use both brakes together, applying the rear brake first to avoid excessive load on the front wheel and fork.
Brake adjustment includes:
Check the wheel to ensure it is fully seated in the frame dropouts. A wheel that is not properly seated can cause the brake rotor to rub against the brake pads and create noise.
Inspect the brake rotor to ensure it is straight and in good condition. Damaged or dirty rotors can reduce braking performance or cause noise.
Center the brake caliper by adjusting its position so that the inner pad, a fixed component of the caliper, is close to and parallel with the rotor. A misaligned brake pad or caliper can reduce braking efficiency or create noise.
Adjust the brake cable tension and check the brake lever. These final adjustments help ensure the brakes are properly set.


Chat
Mon–Fri 8:00 AM – 5:00 PM (Germany, Berlin Time)
